
Key Takeaways:
- Most installation problems trace back to skipping the fitment check for your bike's model and head pipe configuration.
- Working on a hot exhaust risks burns and can discolor a fresh finish.
- A thin coat of anti-seize on the hardware and a torque check after your first ride prevent problems from frequent wear.
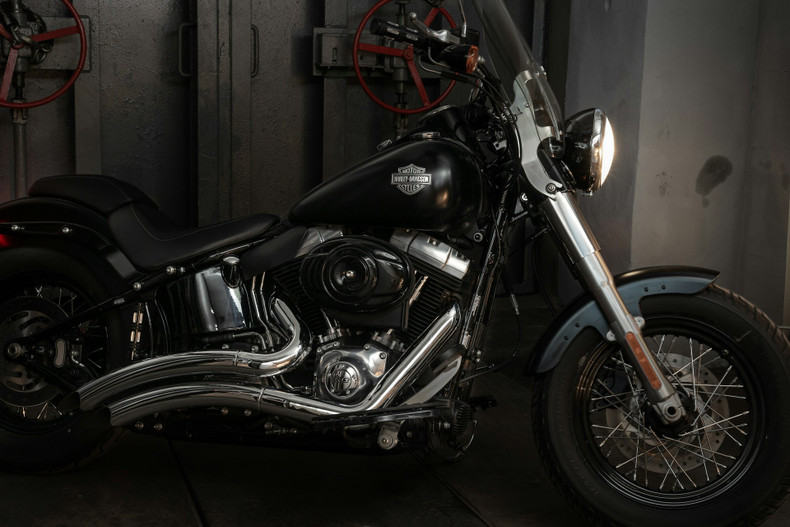
- Boneshakers cat-back slip-on mufflers use a non-invasive design that fits right in.
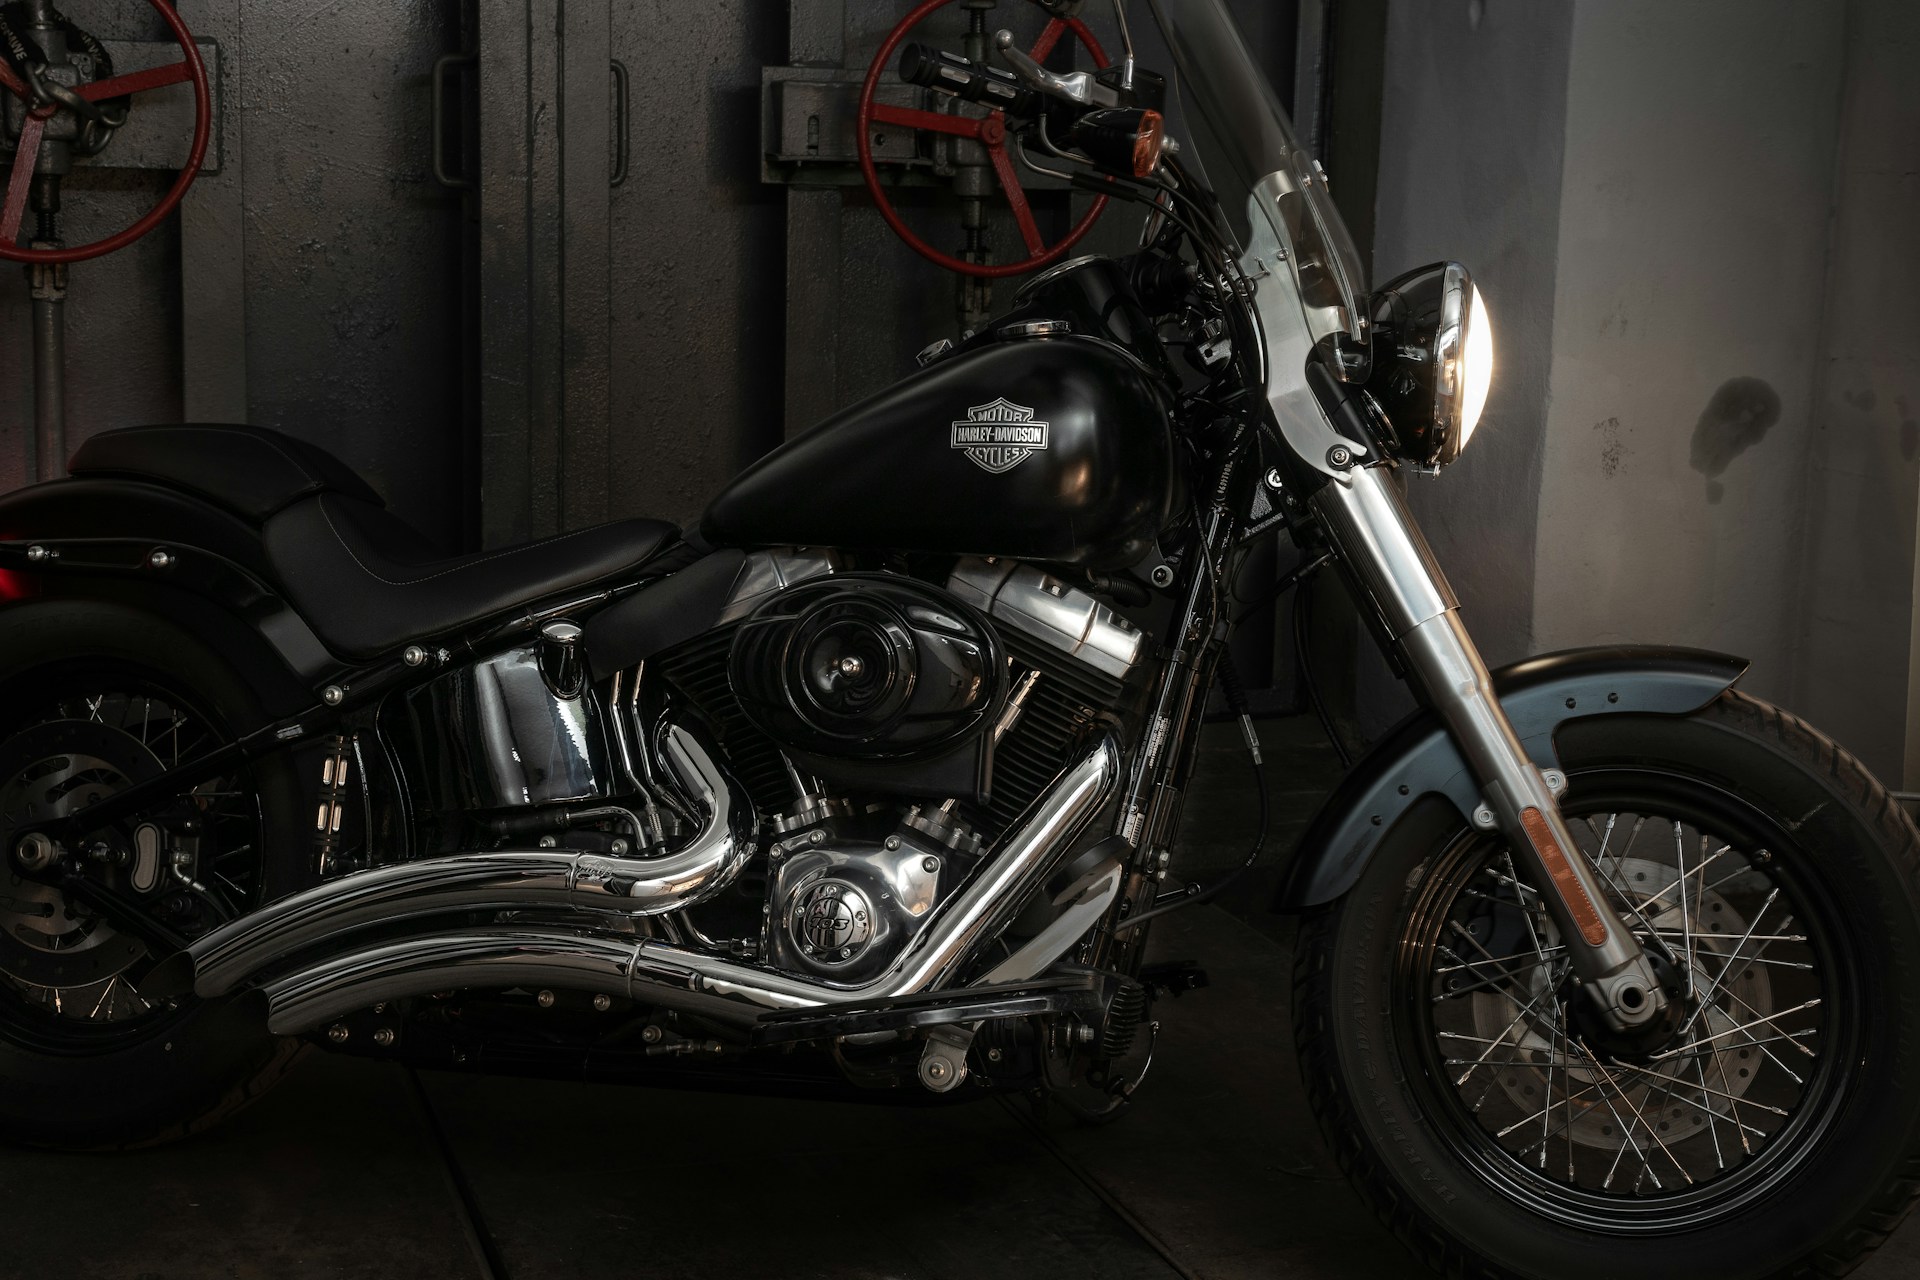
A slip-on muffler is one of the simplest upgrades you can make to a Harley-Davidson, but a rushed install can turn a Saturday project into a trip back to the shop. Most of the mistakes riders make when installing a slip-on exhaust are avoidable once you know what to look for.
1. Skipping the Fitment Check Before You Buy
Not every slip-on exhaust fits every motorcycle, even within the same model line. Slip-ons are built around a specific head pipe configuration, so a can designed for a stock dual head pipe won't seat right on a modified system.
Before installing a slip-on exhaust on your motorcycle, confirm your model year and head pipe setup against the manufacturer's compatibility list. Boneshakers' Bullies and Jackhammers are both built for stock configuration dual head pipes, so start there before you order.
2. Installing While the Exhaust Is Still Hot
Exhaust pipes hold heat long after you park the bike. Removing the stock mufflers or fitting new ones while the system is still warm risks burns and can discolor a fresh finish.
Let the bike cool completely, ideally overnight, before you install a slip-on exhaust. A cold system also makes the clamps easier to work loose without a fight.
3. Ignoring the Clamp Torque Spec
Overtightening a clamp can crack the muffler body or strip the threads. Undertightening leaves it loose enough to rattle or leak exhaust at the seam. A loose clamp is one of the most common causes of exhaust leaks, and it's one of the easiest to prevent.
Torque the clamp bolts to the spec listed in your bike's service manual, then check them again once everything has settled into place.
4. Skipping Anti-Seize on the Hardware
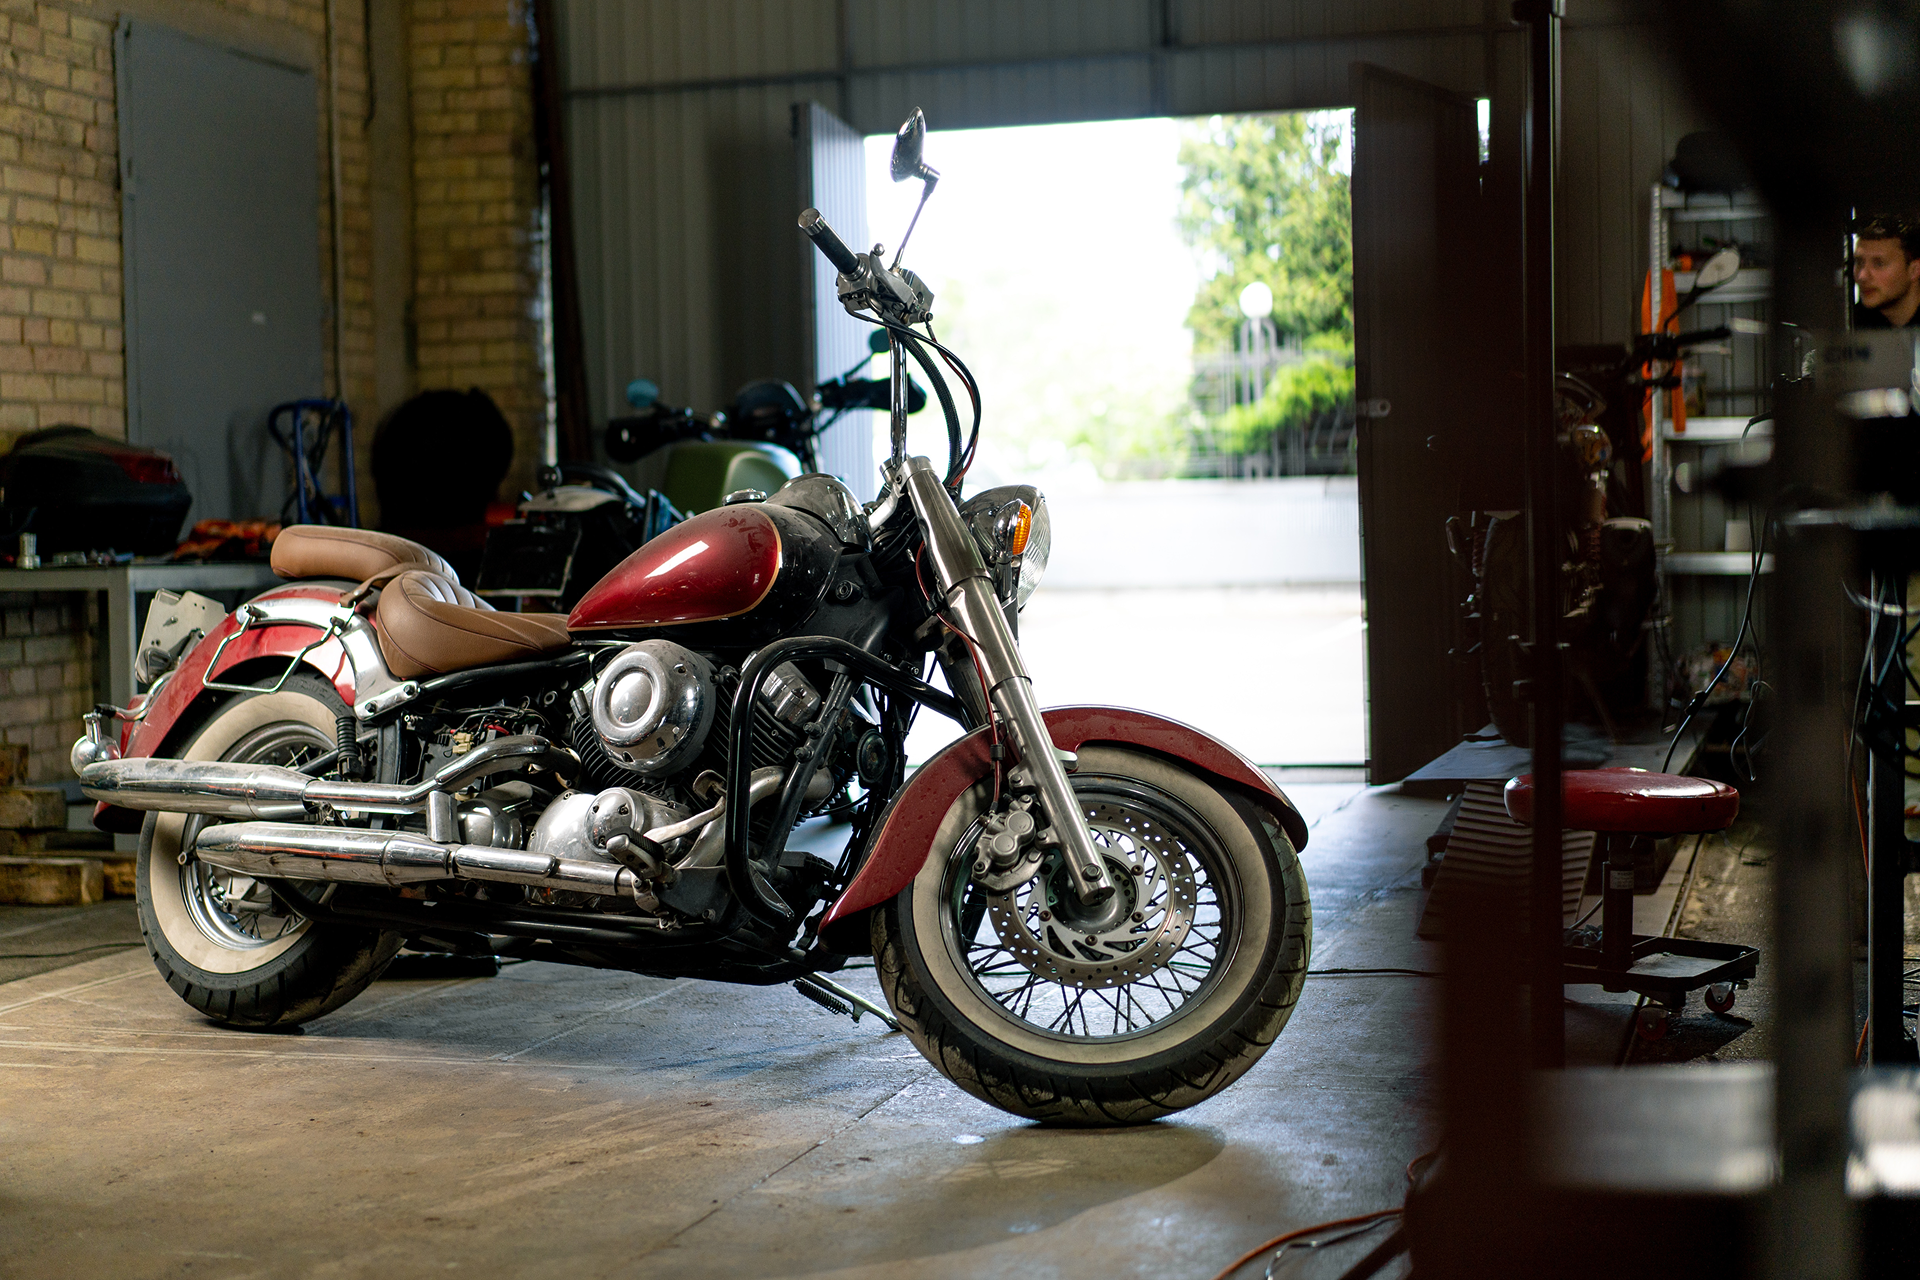
Exhaust bolts go through repeated heat cycles that promote corrosion and galling, the condition where two metal surfaces fuse together under friction. Exhaust fasteners are one of the applications where anti-seize matters most, since removal gets difficult without it.
A thin coat on the threads keeps your hardware from turning into a project the next time you install a slip-on exhaust. It's available from any auto parts store, and it takes less than a minute per bolt.
5. Skipping the Post-Ride Fastener Check
New gaskets and clamps seat in during that first ride as the metal heats and cools. Skipping the recheck is how a clean install turns into a rattle, a leak, or a dropped muffler down the road.
Give every bolt a once-over after installing a slip-on exhaust on your motorcycle, especially within the first 20 to 30 miles. This is also a good time to confirm the heat shield and end caps are still snug.
Before Installing a Slip-On Exhaust: Quick Checklist
- Confirm your model year and head pipe configuration.
- Let the exhaust cool completely before you start.
- Have a torque wrench and your bike's service manual.
- Keep some anti-seize compound on hand.
- Plan a short ride and a fastener recheck within the first 30 miles.
FAQs
Can you put any slip-on exhaust on a motorcycle?
No. Slip-on mufflers are built to match a specific head pipe configuration, so fitment depends on your bike's model, year, and whether the stock exhaust system has been modified. Check compatibility before installing a slip-on exhaust on your motorcycle, especially if your bike doesn't have stock configuration dual head pipes.
Do I need a professional to install a slip-on exhaust?
Not usually. Installing a slip-on exhaust is a hand-tool job most riders finish in under an hour, since it doesn't require welding, drilling, or a tune for stock head pipes.
Will a slip-on exhaust affect my emissions compliance?
Not if it's a cat-back system like Boneshakers' slip-ons, which leave the catalytic converter untouched. Local noise ordinances still apply, so check them before you ride.
What if something feels off after I install my slip-on exhaust?
Stop riding and recheck your work before you put more miles on it. Boneshakers slip-ons carry a limited lifetime warranty on material defects and a one-year warranty on the finish, so reach out if a defect, not an installation issue, is the cause.
Get It Right the First Time
Most installation headaches come down to rushing: skipping the fitment check, working on a hot bike, or not circling back to check the hardware. Slow down, follow the steps above, and you'll know how to install a slip-on exhaust the right way every time.
Ready to upgrade your ride? [Shop Boneshakers Slip-On Mufflers] and let the road hear you coming.