
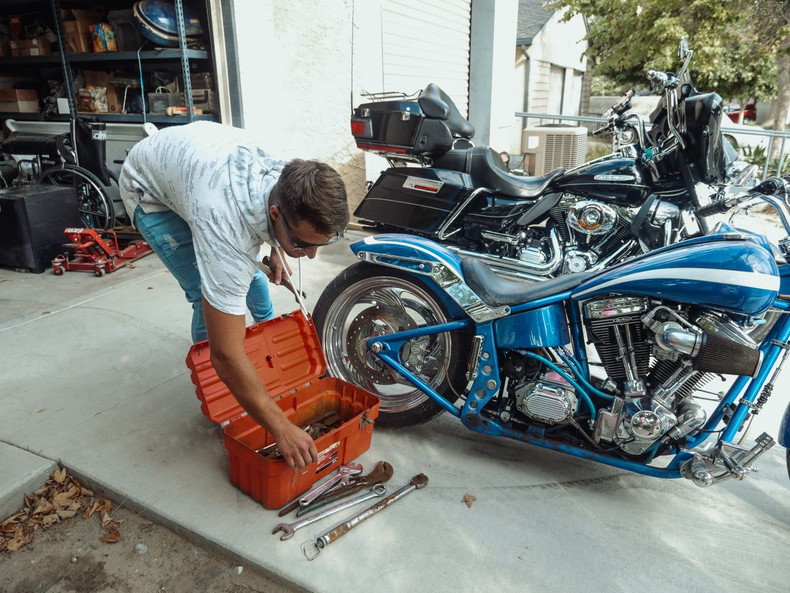
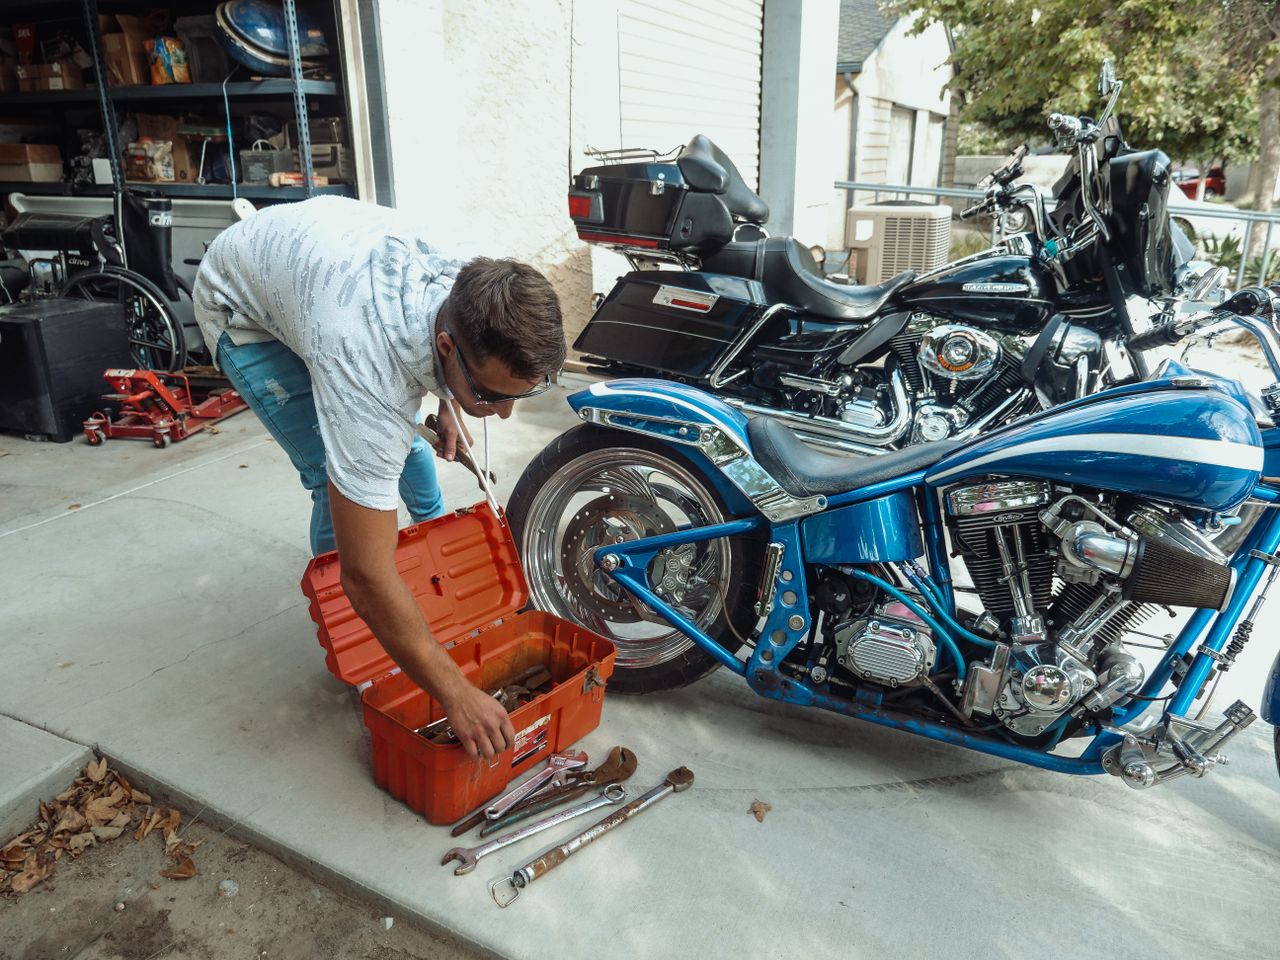
Key Takeaways
- If you’re not sure how to install a slip-on exhaust, don’t worry. Boneshakers slip-ons can be installed with basic tools.
- Here’s how to put on a slip-on exhaust: Remove the factory muffler, slide the slip-on in place, align the mounting brackets, and tighten the clamps.
- Boneshakers’ cat-back system uses your bike’s existing build, doesn’t mess with the emissions catalysts, and preserves the factory look.
- Tuning is optional, but we recommend it for optimal performance gains.
- If you have any questions about how to put a slip-on exhaust on a motorcycle, reach out to Boneshakers for expert guidance.
Wondering how to install a slip-on exhaust? As long as you’re using Boneshakers motorcycle slip-on mufflers, the installation process is quick and easy. You can absolutely handle the upgrade on your own, and all you need are a few basic hand tools and around an hour.
Slip-ons are the ultimate more-bang-for-your-buck upgrade. Not only are the components cost-effective, but you don’t have to pay a fortune for professional installation.
If you’ve been thinking about boosting your Harley-Davidson or Indian bike’s volume, improving its tone, and upgrading your performance, you’re in the right place. Here’s everything you need to know about how to install a slip-on exhaust with the least hassle and no headache.
1. Prepare Your Workspace
If you’re wondering how to put on a slip-on exhaust yourself, you probably already have a place to work on your bike.
Make sure your bike is parked on a flat, concrete surface, ideally on a heavy-duty paddock stand, center stand, or locking wheel chock. Safety is crucial, especially if you’re still learning how to put a slip-on exhaust on a motorcycle properly.
2. Gather Your Tools
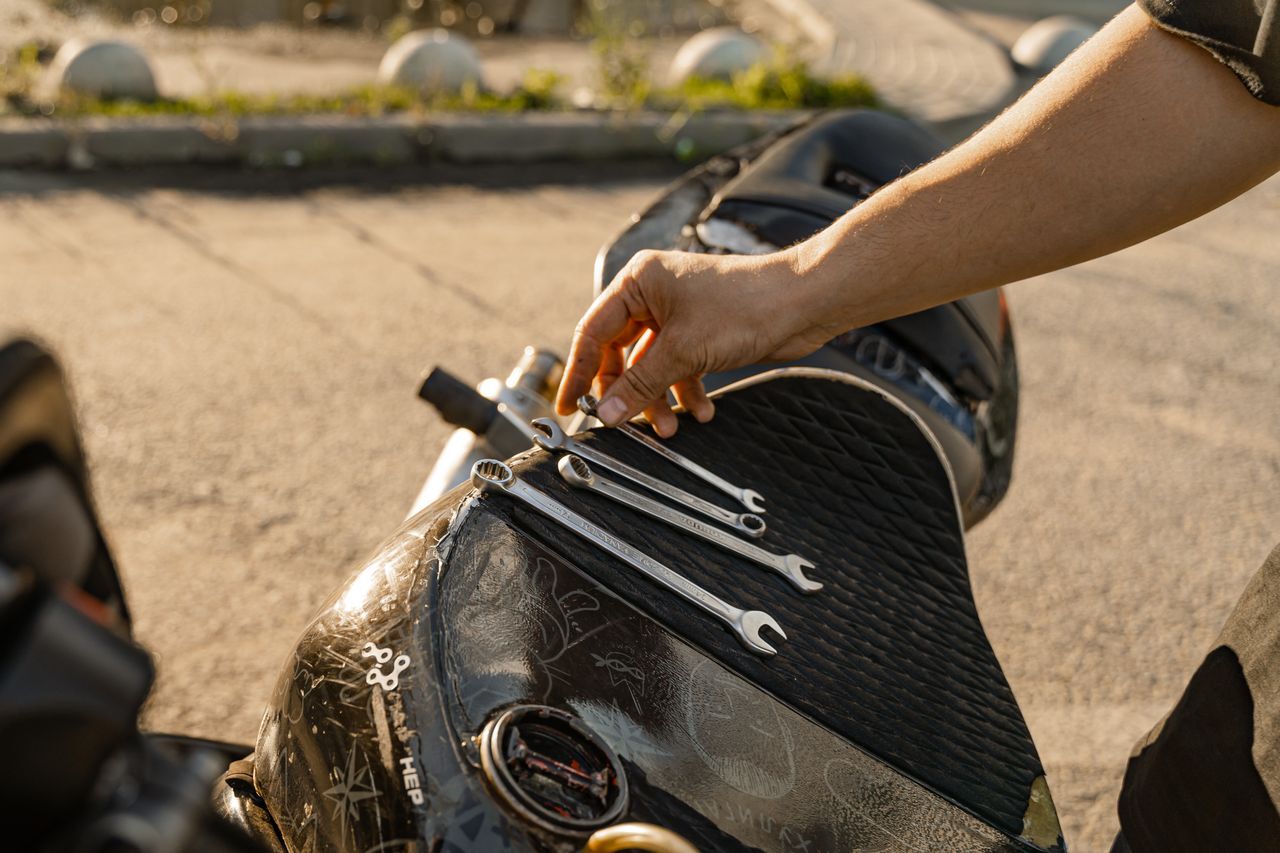
You probably already own the basic hand tools needed for the installation. While the exact tools depend on your bike’s make and model, here’s what you typically need:
- Torque Wrench
- Socket Wrenches
- Combination Wrenches
- Set of Allen/Hex Keys
- Penetrating Oil
- Rubbing Alcohol and Microfiber Cloth
3. Remove the Stock Muffler
Now that you’re all set up, it’s time to learn how to install a slip-on exhaust. But first, let’s get the old one off.
Loosen the Exhaust Clamp’s Bolt
- Locate the exhaust clamp (where the stock muffler slips over the header pipe or collector).
- Loosen the clamp’s bolt until the clamp can slide easily around the pipe.
- If the bolt won’t loosen, lubricate it with penetrating oil until it can slide freely.
Unbolt the Mounting Brackets
- Locate the primary mounting brackets on the body of the factory muffler.
- Use one hand to support the muffler’s weight while removing the mounting bolts.
- Store all hardware somewhere safe; you’ll need it later.
Slide the Factory Muffler Off
- Firmly grab the muffler’s body.
- Carefully pull it back while simultaneously twisting it back and forth using an alternating clockwise and counterclockwise motion until it comes loose.
4. Slip on Your Boneshakers Slip-On
All right, now we’ll actually talk about how to install a slip-on exhaust. Our user-friendly design is super intuitive.
- Use a clean rag to remove any residual dirt, grime, and oil.
- Locate the heavy-duty barrel clamp included with your Boneshakers slip-on.
- Slide the barrel clamp onto the slip-on’s front opening.
- Position the visible bolt to be hidden from view.
- Slide the slip-on’s inlet over the factory header pipe using the same twisting motion to gently ease it into place.
5. Replace the Factory Hardware
Now that your slip-on is in place, you’ll just need to use the factory hardware to secure it.
Here’s how to install a slip-on exhaust:
- With the slip-on in position, align the mounting brackets with the factory mounting points.
- Use the factory hardware to secure the slip-on in place.
- Use a torque wrench to tighten all hardware to the motorcycle manufacturer's specified torque values.
That’s all you need to know about how to put on a slip-on exhaust! Let’s wrap this up.
6. Clean All Metal Surfaces
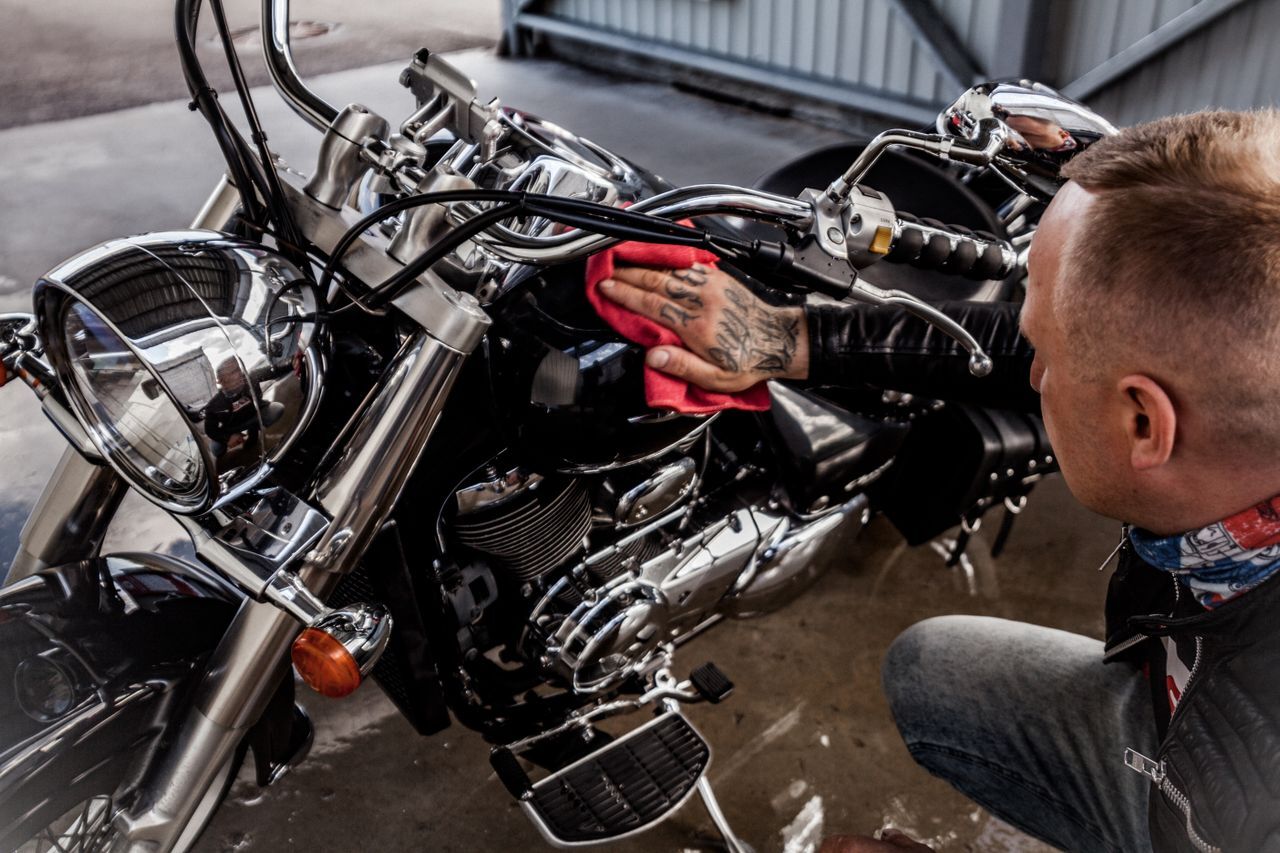
Now that you know how to put a slip-on exhaust on a motorcycle, the final step is to remove any fingerprints, grease, oil, and other residue. Wipe all surfaces thoroughly with rubbing alcohol and a microfiber cloth. This step prevents residue from getting baked into the new exhaust.
7. Tune Your Ride (Optional)
In addition to producing a loud, deep tone, Boneshakers slip-ons can provide modest performance gains. We recommend tuning your bike after the installation to maximize the performance boost.
Reach Out for Expert Assistance
If you still have any questions about how to install a slip-on exhaust on motorcycles, don’t hesitate to get in touch. We’ll be happy to provide personalized guidance to ensure a successful installation. Give your bike the rockstar treatment with Boneshakers!